Your sourdough starter,
from day one.
Everything you need to wake, feed, bake with, and live alongside your sourdough starter. Written for the absolute beginner — patient, calm, and tested in real Somerset kitchens.
The whole guide in thirty seconds.
- Open the jar. Check the starter looks alive — slightly bubbly, slightly sour-smelling, cream-coloured. That's normal.
- Day 1: Wake it. 50g flour, 50g room-temperature water, stir, cover loosely, leave somewhere warm.
- Days 2–3: Feed it. Discard half, add 50g flour and 50g water. Twice daily if your kitchen is cool.
- Day 4: Mix your dough. 100g active starter, 500g flour, 350g water, 10g salt.
- Day 5: Bake. Forty minutes in a hot oven. Cool one hour. Slice. Eat.
The deep version of every step is below. If you only have thirty seconds, this is enough to get going.
Wake your starter.
Open the kit. Take out the jar. Inside is a live sourdough culture that's been continuously fed in our Somerset kitchen since 2014. It's been resting in transit; today you wake it up.
What you'll do: empty the jar's contents into a clean wide-mouthed jar (any 500ml glass jar works — Le Parfait, Kilner, or a clean jam jar). Add 50g of the flour from your kit and 50g room-temperature water. Use filtered or de-chlorinated water (tap water left out overnight is fine).
Stir vigorously for 30 seconds — really get air into it. Scrape down the sides. Mark the level on the jar with a rubber band. Cover loosely (lid resting on, not screwed shut — the starter needs to breathe).
Where to put it: somewhere warm, around 22–24°C. The airing cupboard, on top of the boiler or fridge, in the oven with just the light on, or wrapped near a hot water tank. Avoid radiators (too hot, dries out the surface) and direct sunlight.
Leave it overnight. By morning you should see bubbles forming.
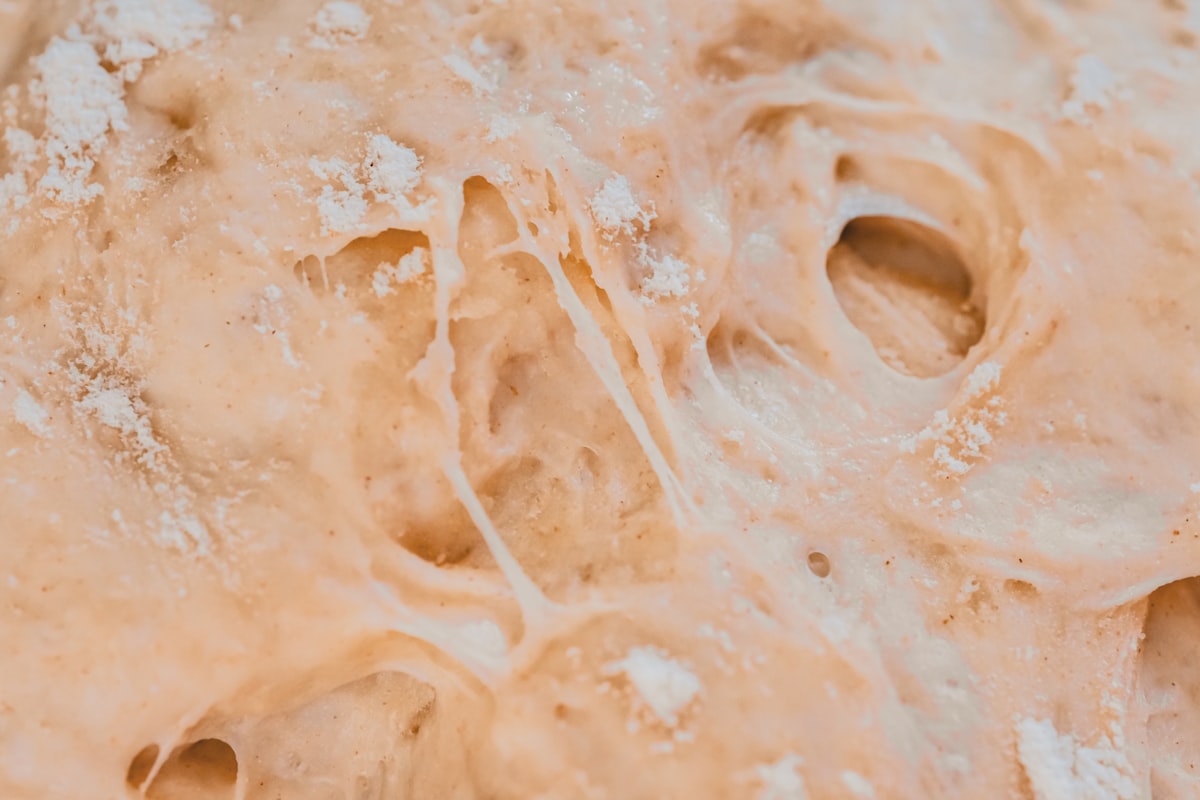
Feed it. Watch it rise.
The starter should be visibly more active by Day 2 — bubbles throughout, the surface slightly raised, the smell shifting from neutral to something faintly tangy. If you're seeing this, you're on track.
The feeding routine:
- Discard half of what's in the jar (about 50g — bin it, or save in a separate \"discard jar\" in the fridge for discard recipes).
- Add 50g flour and 50g water to what's left.
- Stir well. Mark the new level. Cover. Leave warm.
Repeat once or twice daily depending on your kitchen temperature. Cool kitchen (under 20°C): twice a day, morning and evening. Warm kitchen (22–24°C): once a day is enough.
The starter should now be doubling between feeds — you'll see it at the rubber band line, then well above it 4–8 hours later. That's exactly what you want.
Day 2 of a quiet starter is normal. If you see no activity at all by Day 3, your kitchen is likely too cold. Move the jar somewhere warmer (24–26°C). Most quiet starters wake up within 24 hours of moving.
Mix your first dough.
Your starter is ready when it has doubled within 4–8 hours of feeding, smells pleasantly tangy (like yogurt or cider), and has bubbles all the way through. Three feeding cycles of consistent doubling and you're set.
The classic country loaf recipe:
- 100g active starter (at peak)
- 500g strong white bread flour
- 350g water at 28°C
- 10g fine sea salt
Method: Combine flour and water in a large bowl. Mix until no dry flour remains. Cover, rest 30 minutes (this is the autolyse — it lets the gluten begin forming on its own).
Add the active starter and salt. Squeeze through your fingers until evenly distributed. Cover.
Over the next 2 hours, do four sets of stretch and folds at 30-minute intervals. With a wet hand, lift one side of the dough straight up, stretch it gently, fold over to the opposite side. Rotate the bowl 90°. Repeat three more times. That's one set.
After the four sets, leave the dough alone for the rest of bulk fermentation — typically 5–7 hours at room temperature. The dough is ready when it's grown 50–75%, the surface is domed and slightly bubbly, and a wet finger pressed into it springs back about three-quarters of the way.
Shape and rest overnight. Tip the dough out, pre-shape into a round, rest 15 minutes. Final shape: stretch and fold the four sides into the middle, flip seam-side down, drag across an unfloured worktop to build tension. Place seam-up in a floured bowl or banneton. Refrigerate overnight (12–18 hours).

Bake.
The day you've been working toward. Pre-heat your oven to 250°C with a Dutch oven or heavy lidded cast-iron pan inside, at least 30 minutes before you bake. The pan needs to be properly hot.
Tip the dough out onto a square of baking parchment. Score the surface with a single confident slash, about 1cm deep, at a 30° angle to the surface — this gives the dough a place to expand cleanly.
Carefully lift the dough (using the parchment as a sling) into the hot Dutch oven. Lid on. Bake 20 minutes lid-on. Then take the lid off, drop the temperature to 220°C fan, and bake another 25 minutes until the crust is deep golden brown — almost mahogany in places.
Cool fully before slicing. Resist for at least an hour. The starches need to set; cutting hot makes the crumb gummy. We know. Wait.
Crust deep golden, the loaf sounds hollow when tapped on the bottom, internal temperature 95°C if you use a probe thermometer. Don't trust pale crusts.

Living with your starter.
Once your starter is established and you've baked your first loaf, the routine becomes simple. You have two storage choices.
Counter starter (you bake often)
Keep the jar at room temperature. Feed once daily (or twice if your kitchen is cool). 1:1:1 ratio works — for example, 25g starter, 25g flour, 25g water. Bake whenever the starter is at peak.
Fridge starter (you bake weekly or less)
This is the answer for most home bakers. Feed once a week. Take it out, feed at 1:1:1, leave on the counter for 4 hours to let the feed take effect, then return it to the fridge. To bake: take out a day before, do one or two room-temperature feeds, use when it peaks.
Going on holiday
Up to 2 weeks: fridge it after a feed. It'll be fine. Past 2 weeks: freeze a portion as backup, ask a neighbour to feed it weekly, or dehydrate a layer (smear 50g thinly on parchment, dry at room temperature for 2 days, scrape into a jar — keeps months, rehydrates in 3 feeds).
If something looks off, start here.
Brown liquid on top
That's hooch — a sign your starter is hungry, not dying. Stir it back in (more sour bread) or pour it off (milder). Then feed.
Smells like nail varnish
Acetone — also a sign of hunger. Feed more often, or use a 1:2:2 ratio. Should mellow within a day.
Bubbling but not rising
Almost always temperature. UK kitchens at 18°C show bubbles but slow rise. Move somewhere warmer (24°C) and feed once more.
Pink, orange, or fuzzy growth
That's mould. Bin the jar, sterilise, restart. Don't try to rescue.
Loaf came out dense
Most likely under-proofed bulk or starter wasn't quite at peak. Full troubleshooting.
My kitchen is genuinely cold
Use the airing cupboard, oven with light on, or invest in a £15 seedling heat mat. Your starter will thank you.
Deeper guide: Sourdough Starter Not Rising — 7 Fixes
The visual reference.
Questions people actually ask.
How long does the starter last?
Indefinitely, with care. The starter that ships in this kit descends from a mother culture begun in 2014 — still going. Weekly feeds in the fridge are usually enough.
What if my starter doesn't activate?
Reach out within ten days and we'll send a replacement, free. We've shipped over 1,400 kits and this happens to fewer than one in fifty — but when it does, we want to hear about it.
Do I need any special equipment?
The kit includes everything you need to wake and feed the starter. To bake your first loaf, you'll also want a Dutch oven or heavy lidded pan (any 4-litre lidded cast-iron works). The booklet covers alternatives if you don't have one yet.
Can I pause feeds if I go away?
Yes — pop the starter in the fridge before you leave. It'll happily wait two to three weeks between feeds at fridge temperature. Bring it out and feed once or twice the day before you want to bake.
Should the lid be tight or loose?
Loose. Wild yeasts need oxygen exchange. A tight clip-top will eventually pop from CO₂ pressure.
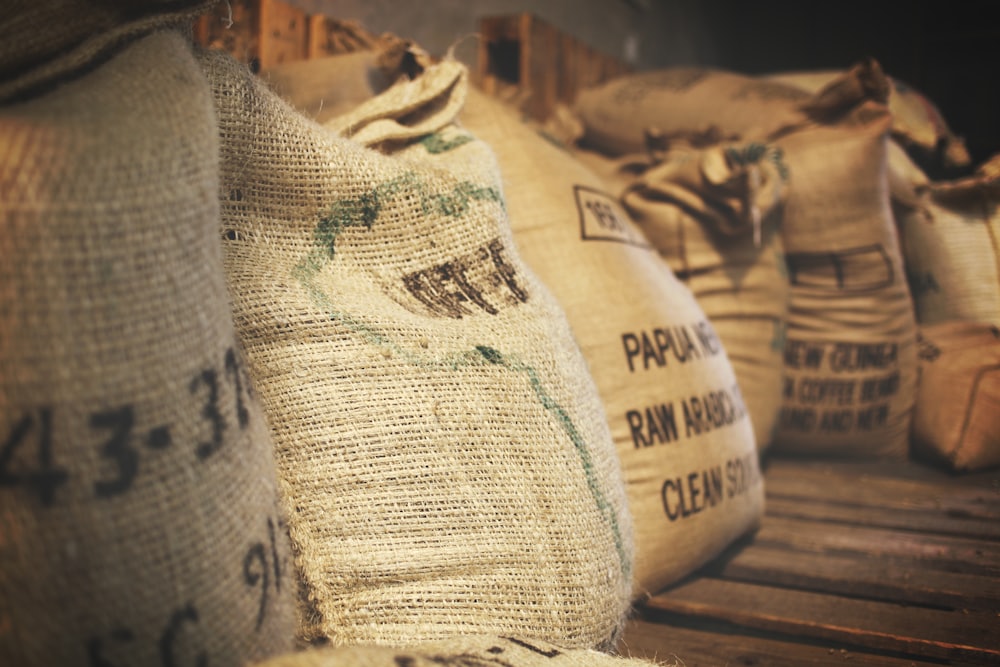
Is the flour organic?
Yes. The flour in every kit is organic, stoneground, and milled in the UK by Shipton Mill in Gloucestershire.
What flour should I buy to keep feeding it?
Match the grain to the starter. Marriages or Shipton Mill organic strong white for white kits; organic wholemeal or rye for the others. Available in any UK supermarket.
How sour will my bread be?
Mild by default. The longer the cold ferment in the fridge, the more sour. 12 hours is gentle; 18+ hours is more pronounced. Adjust to taste.
Do I have to bake a country loaf first?
Not at all. Once the starter is active you can use it for pancakes, crumpets, pizza, naan, or any bread you fancy. The country loaf is just the most beginner-friendly start.
Can I split my starter and give some away?
Yes — once it's well-established, split off 50g into a clean jar with the recipient's name on it. They feed it once a day for a week and they have their own starter. Lovely gift.
Don't have a kit yet?
Five sourdough starter kits made by hand in Somerset — each with a live, mature culture, organic flour, glass jar, and printed beginner's guide. Pick by grain.
Shop the Starter Kits